A Master Bedroom: One 70lb Sheet at a Time
So after getting the majority of the exterior insulation in place, it became time to start actually closing things in! For us this is an extremely exciting change in our housing situation. The sooner we get the wall material up, the sooner we will have a master bedroom! Probably the biggest decision in this phase was what to use for our wall materials. I have entertained ideas such as tile, stone, plaster (a special type, very cool), paint, wood etc. before finally settling back on the tried and true sheetrock with a couple of accents most likely in concrete and/or wood. Let me say here that sheet rock, or gypsum board, is not my favorite material in the world. It is brittle and not particularly environmentally friendly. To finish it off well requires a lot of time and patience to get everything smooth without applying a texture. However on its list of benefits is the fact that it has fire retarding abilities and is relatively inexpensive. Also, the plaster I mentioned before required sheetrock to be placed first anyway, which ended up not financially feasible. Personally I like very solid walls along the lines of masonry but that isnt always possible in stick-built homes. The future addition (more on that to come in a later post) will have a bit more masonry to help things a long.
That being said, I worked with what I had. I researched a product called EcoRock (here) which uses 90% less energy to produce. While it seemed like a great product to use, it won’t be available in Texas for quite some time. While I was at it, I also took the time to research various methods of sound transference reduction from room to room and floor to floor. A well sound-insulated house can be very important when living quarters are close in a smaller house like this one. There were a few dedicated products including a special board with layers of gypsum and a barrier in between. These became quite expensive however so I went with a decent affective plan of action: 5/8″ sheetrock (normal is 1/2) with insulation in between all of the rooms. This should give me a decent reduction in sound without being too costly. Downstairs where the entertainment center and everything is located we will probably use a bit more of an aggressive attack such as resilient channel and isolation clips to almost eliminate any foot stomping going on upstairs (more to be discussed when that happens!) Another benefit of using 5/8″ gypsum board is that it is fire rated to at least an hour.
The downside? IT IS HEAVY STUFF!
One 4×8′ sheet weighs about 7olbs. Now, that might not seem like a ton but when you factor in the distinct lack of a stairway in our house currently (the main reason behind an addition) and the fact we have close to 50 sheets to place into the upstairs alone, it is quite a bit. We persevered though and with the help of my dad and one of my best friends Hussain, we got 14 sheets upstairs and 13 sheets on the walls. In order to get them upstairs in the first place my beast of a dad ended up hoisting the panels to me and Hussain, where we had to pull them up onto the back deck. Not particularly fun but it worked.
Now, the *correct* order of drywall is to place the ceilings first then go around and place the wall partitions. This was the plan until we realized something rather depressing; the previous owner didn’t include many of the necessary nailer boards. This meant that it would be nearly impossible to hang the ceilings. Instead, we decided to place the walls but leave a gap at the tops to accommodate the 5/8″ ceiling panels. Before our next round of installation I will make sure we have all the correct nailers so we can get back on track. We got all of them lightly tacked up that day and called it quits. Rebekah and I the next evening spent a couple hours driving the appropriate amount of screws into them so we would hopefully avoid any moisture problems until completed.
That was about the extent of the excitement! Everyone was a huge help and special thanks to Hussain and my dad for their time and help. It is fantastic to see real walls going up in those rooms. Here are a few photos of the current progress!
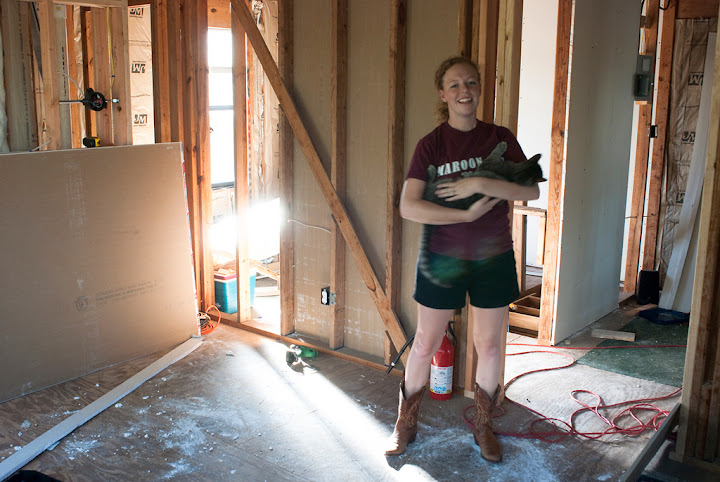
Rebekah and Oso in the in-progress master!
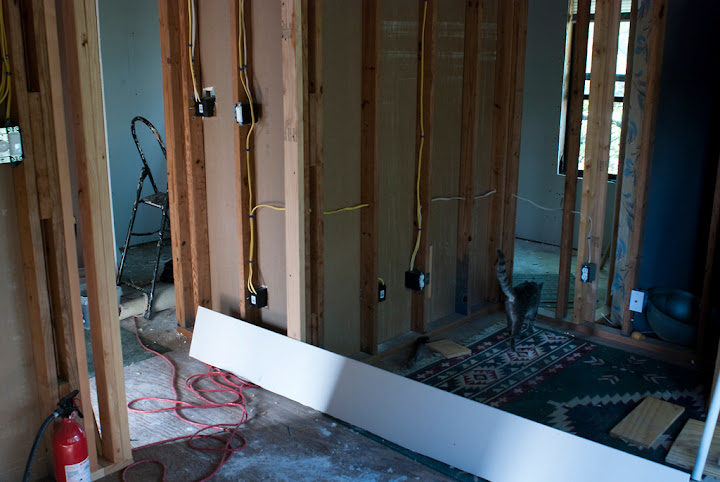
Closet side of the master. And Oso
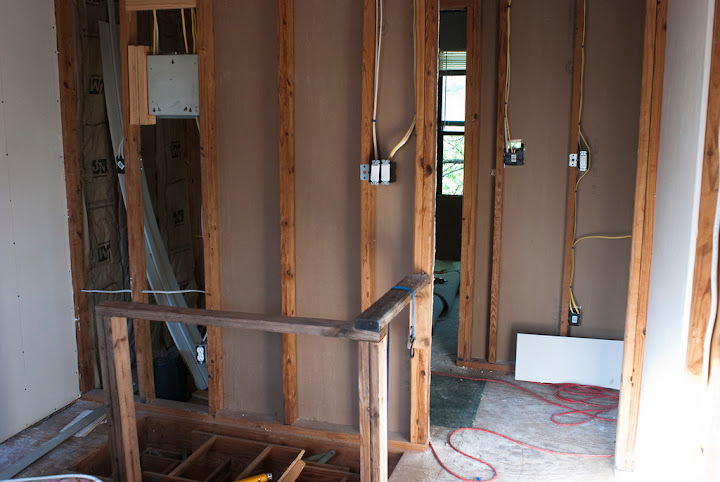
Into the hall from a bedroom
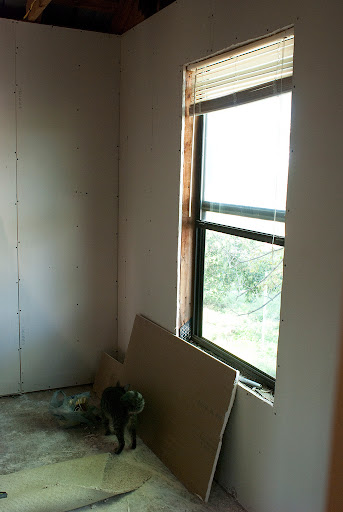
The smaller of the two bedrooms. Mostly walled in!
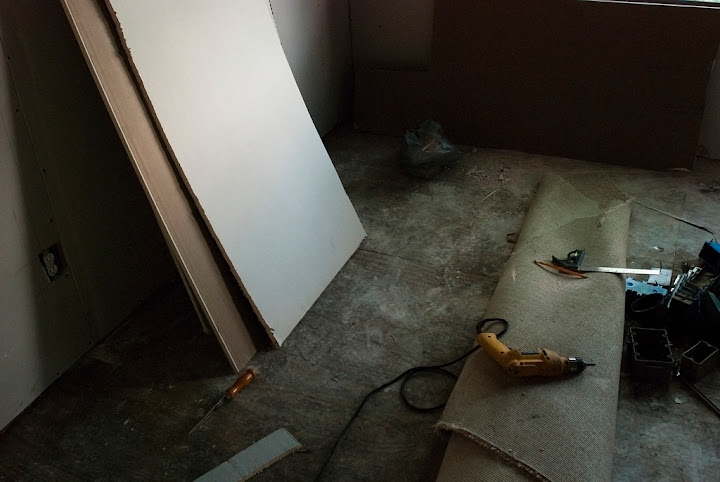
Tools of the trade...
And PS: Roughly THREE WEEKS before our wedding. We absolutely cannot wait ![]()